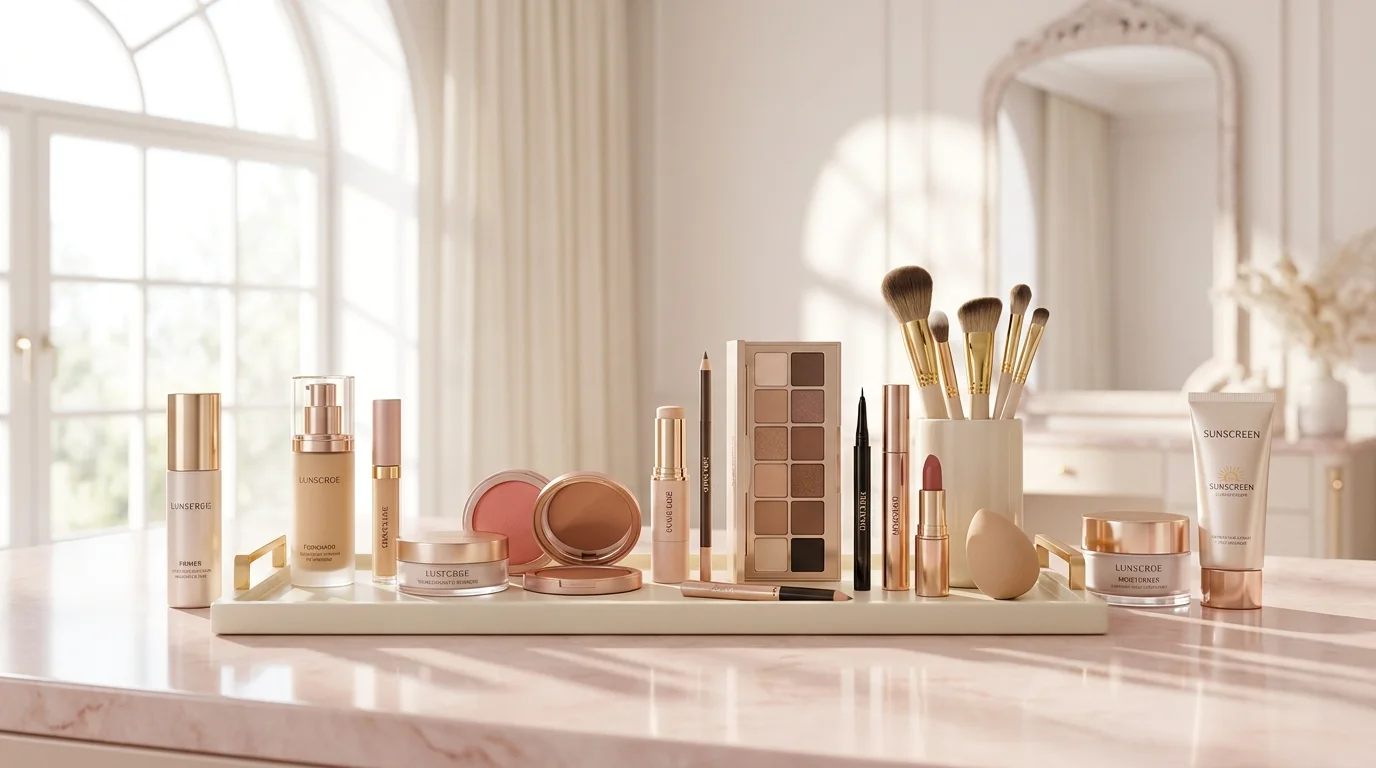
Makeup looks its best when products are applied in the right order. Many people buy high-quality foundation, concealer, and eyeshadow but still struggle with patchiness, creasing, or a finish that fades before lunch. In most cases, the issue is not the products. It is the application sequence.
As a cosmetic formulation analyst, I often see makeup problems caused by poor layering. Applying products from thin textures to thicker textures helps create a smoother finish, better wear time, and more natural-looking results. Whether you prefer a soft everyday look or full glam, following the correct makeup application order can make a noticeable difference.
The Best Makeup Order Starts With Proper Layering
For most skin types, makeup performs best when skincare is fully absorbed, liquid products are applied before powders, and each layer is blended before the next product is added.
What Is the Correct Order to Apply Makeup?
The correct makeup order for most people is:
- Skincare
- Primer
- Foundation
- Concealer
- Setting Powder
- Bronzer or Contour
- Blush
- Highlighter
- Brows
- Eyeshadow
- Eyeliner
- Mascara
- Lip Product
- Setting Spray
This sequence helps products blend more easily while reducing caking, creasing, and uneven texture.
Makeup Application Order at a Glance
| Step | Product | Purpose |
|---|---|---|
| 1 | Primer | Create a smooth base |
| 2 | Foundation | Even skin tone |
| 3 | Concealer | Cover discoloration |
| 4 | Setting Powder | Reduce shine and lock makeup |
| 5 | Bronzer or Contour | Add dimension |
| 6 | Blush | Add color |
| 7 | Highlighter | Add glow |
| 8 | Brows | Frame the face |
| 9 | Eyeshadow | Add eye definition |
| 10 | Eyeliner | Enhance eye shape |
| 11 | Mascara | Define lashes |
| 12 | Lip Product | Complete the look |
| 13 | Setting Spray | Improve wear time |
Why Makeup Application Order Matters
Every makeup product is designed to sit on top of another layer. When products are applied in the wrong sequence, they can separate, pill, or create an uneven finish.
For example, applying powder before liquid products often leads to patchiness. Likewise, applying heavy skincare immediately before foundation may cause sliding and separation.
Correct makeup layering improves:
- Blendability
- Longevity
- Coverage
- Texture appearance
- Overall finish
Prepare Your Skin Before Applying Makeup
Healthy-looking makeup starts with healthy-looking skin. Before reaching for foundation, prepare the skin properly.
Cleanse Your Skin
Remove excess oil, sunscreen residue, and dirt. Clean skin creates a more even surface for makeup application.
Apply Moisturizer
Hydrated skin helps foundation spread evenly and prevents dry patches from becoming more visible.
If you need help building a skincare routine before makeup, review our proper skincare order guide.
Use SPF During The Day
Broad-spectrum sunscreen should always be the final skincare step before makeup.
Allow Products To Absorb
Wait a few minutes before applying primer. This simple step often improves makeup wear time and reduces product separation.
How to Apply Makeup Step by Step
Step 1: Apply Primer
Primer creates a smoother surface for foundation and can help reduce the appearance of pores and uneven texture.
Many makeup wearers skip this step, but primer often improves longevity and blending performance.
If you are unsure how primer works, learn more about what makeup primer actually does.
Choose a primer based on your skin needs:
- Hydrating primer for dry skin
- Mattifying primer for oily skin
- Blurring primer for visible pores
Step 2: Apply Foundation
Foundation creates an even-looking complexion and serves as the base of your makeup routine.
Choose a shade that closely matches your neck and jawline rather than your hand.
Apply foundation from the center of the face and blend outward using a brush or beauty sponge.
Popular beginner-friendly options from brands such as Maybelline, L'Oréal Paris, e.l.f. Cosmetics, and Fenty Beauty are widely available in different finishes and coverage levels.
Best Practices
- Start with a small amount of product
- Blend in thin layers
- Match foundation to your undertone
- Build coverage gradually
Common Mistakes
- Using too much product at once
- Choosing the wrong shade
- Skipping skin prep
- Not blending around the jawline
Step 3: Apply Concealer
One of the most common questions is whether concealer should be applied before or after foundation.
For most people, concealer works best after foundation. Foundation already covers much of the discoloration, meaning less concealer is needed.
Apply concealer under the eyes, around the nose, and over areas that need extra coverage.
Step 4: Apply Setting Powder
Setting powder helps lock liquid products into place and reduce excess shine.
If your skin is dry, focus powder only on areas that crease easily. If your skin is oily, lightly set the T-zone and other shine-prone areas.
Step 5: Apply Bronzer and Contour
Bronzer adds warmth while contour creates the appearance of depth and structure.
Apply bronzer where the sun naturally hits the face and contour beneath the cheekbones, jawline, and temples if desired.
Step 6: Apply Blush
Blush adds life and freshness to the complexion.
Apply lightly to the apples of the cheeks and blend upward toward the temples for a lifted effect.
Step 7: Apply Highlighter
Highlighter reflects light and creates a healthy-looking glow.
Focus on the high points of the face, including the tops of the cheekbones, bridge of the nose, brow bone, and cupid's bow.
```html id="pwz3aq"Step 8: Shape and Fill Your Brows
Well-groomed brows frame the face and can make the entire makeup look appear more polished. You do not need heavily sculpted brows for everyday makeup. Focus on filling sparse areas while maintaining your natural shape.
Use light, hair-like strokes rather than drawing solid lines. A tinted brow gel can add definition while keeping the finish soft and natural.
Step 9: Apply Eyeshadow
Eyeshadow adds depth and dimension to the eyes. For a simple everyday look, use a light shade across the lid, a medium tone through the crease, and a slightly deeper shade on the outer corner.
Blend thoroughly between colors. Good blending is often the difference between amateur-looking makeup and a polished finish.
If you want more detailed eye techniques, see our guide on how to apply eyeshadow for beginners.
Step 10: Apply Eyeliner
Eyeliner enhances eye shape and lash definition. A thin line close to the lashes creates a natural effect, while a winged liner produces a more dramatic look.
For beginners, short strokes are usually easier to control than trying to draw one continuous line.
Step 11: Apply Mascara
Mascara helps define and lengthen lashes while making the eyes appear more awake.
Start at the base of the lashes and gently wiggle the wand upward. This technique coats the lashes more evenly and improves separation.
Most people achieve better results with two thin coats rather than one heavy coat.
Step 12: Apply Lip Product
Complete the look with lipstick, lip gloss, or a tinted balm.
For everyday wear, soft nude, pink, or rose shades often complement a wide range of makeup looks. For full glam makeup, a bold lip can become the focal point of the face.
Step 13: Finish With Setting Spray
Setting spray is the final step in the makeup application order. It helps reduce a powdery appearance and can improve wear time throughout the day.
Hold the bottle several inches from the face and mist lightly. Allow the spray to dry naturally.
Common Makeup Mistakes That Ruin the Finish
Even high-end makeup products can look uneven when application mistakes occur.
Skipping Skin Preparation
Dry or dehydrated skin often causes foundation to cling to rough areas. Proper cleansing, hydration, and sun protection create a smoother surface.
Applying Too Much Foundation
Heavy layers are one of the fastest ways to create a cakey appearance. Build coverage gradually instead of applying a large amount at once.
Using the Wrong Primer
Some primers and foundations do not work well together. For example, certain silicone-heavy products may not layer smoothly over incompatible formulas.
Over-Powdering the Face
Excess powder can emphasize dryness, texture, and fine lines. Use only the amount necessary to control shine.
Poor Blending
Harsh edges around foundation, contour, blush, or eyeshadow can make makeup appear unfinished. Spend extra time blending each layer before moving to the next step.
Habits That Improve Makeup
- Use thin layers
- Blend each step completely
- Match products to skin type
- Allow skincare to absorb first
Habits That Cause Problems
- Applying products too quickly
- Using excess powder
- Skipping moisturizer
- Ignoring product compatibility
Why Does Makeup Look Cakey?
Cakey makeup is usually caused by product buildup, dehydration, poor skin prep, or excessive powder application.
In many cases, the solution is not buying new makeup. Instead, focus on applying thinner layers and preparing the skin properly before makeup.
For a deeper explanation, read our guide on why makeup becomes cakey.
How to Make Makeup Last All Day
Long-lasting makeup begins long before foundation touches the skin.
- Start with clean skin
- Use moisturizer appropriate for your skin type
- Apply primer
- Use thin layers of foundation
- Set strategically with powder
- Finish with setting spray
These simple steps help improve wear time without making makeup feel heavy.
For more detailed techniques, visit our guide on how to make your makeup last all day.
Natural Makeup vs Full Glam Makeup
| Feature | Natural Makeup | Full Glam Makeup |
|---|---|---|
| Foundation | Light coverage | Medium to full coverage |
| Contour | Minimal | More defined |
| Eyeshadow | Soft tones | Layered shades |
| Highlight | Subtle glow | High impact shine |
| Lips | Natural tones | Bold or dramatic shades |
Best Makeup Products for a Smooth Everyday Look
e.l.f. Power Grip Primer
Best for makeup longevityA popular gripping primer that helps foundation adhere more evenly while maintaining a fresh-looking finish.
Maybelline Fit Me Foundation
Best for everyday wearLightweight coverage with a natural finish that works well for daily makeup routines.
Frequently Asked Questions
What is the correct order to apply makeup?
The correct order is skincare, primer, foundation, concealer, powder, bronzer, blush, highlighter, brows, eyeshadow, eyeliner, mascara, lip product, and setting spray.
Should primer go before foundation?
Yes. Primer creates a smoother surface and can improve makeup wear time.
Do you apply concealer before or after foundation?
Most people achieve better results by applying concealer after foundation.
Can I skip primer?
You can, but primer often improves longevity, smoothness, and blending.
Why does my makeup look cakey?
Common causes include excessive product application, dehydration, poor skin prep, and over-powdering.
How do I make makeup last all day?
Focus on skincare, primer, thin layers, strategic powder placement, and setting spray.
What makeup goes on first?
After skincare, primer is generally the first makeup product applied.
Should powder go before blush?
Yes, when using powder blush. Cream blush may be applied before powder.
How do I make foundation look natural?
Use thin layers, blend thoroughly, and choose a shade that closely matches your skin tone.
What is the difference between bronzer and contour?
Bronzer adds warmth while contour creates the appearance of shadows and structure.
Is setting spray necessary?
Not always, but it can improve wear time and reduce a powdery finish.
Can beginners apply makeup without professional tools?
Yes. A quality sponge, a few brushes, and proper technique are often enough for excellent results.